
 and now, NASCAR Racing Sponsor


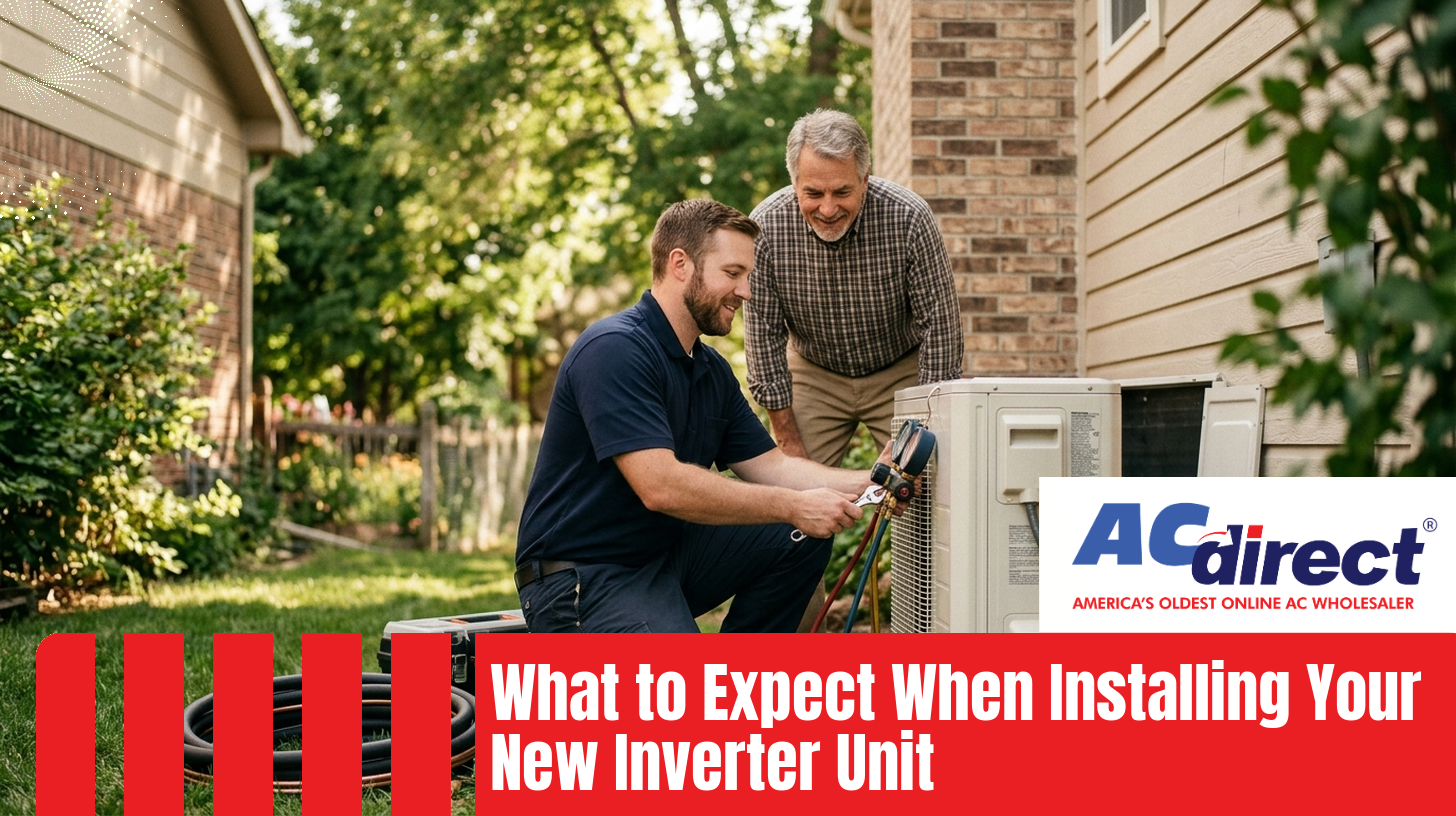
What to Expect When Installing Your New Inverter Unit
-
 By
Michael Haines
By
Michael Haines
- Jul 7, 2026
The buy-direct path in four clear steps, from choosing your unit to startup and warranty registration.
Installing a new inverter unit through the buy-direct path follows four steps: choose and order your unit at wholesale pricing, line up a licensed installer for the labor, prepare for installation day, then complete startup and warranty registration. It is the same process a contractor would follow, minus the equipment markup.
- The buy-direct path has four steps: order the unit, hire a licensed installer, install day, then startup and registration.
- Homeowners save on equipment by buying wholesale; the installer focuses on labor, permits, and commissioning.
- Inverter units need proper commissioning (charge, airflow, controls setup) to hit their rated SEER2 and comfort.
- New A2L refrigerants (R-32, R-454B) are the industry standard as of 2025 per the EPA AIM Act.
- Register your warranty within the manufacturer's window (typically 60 days) to keep full parts coverage.
- For a general overview, see our inverter air conditioner guide.
Buying HVAC equipment direct and hiring your own licensed installer is not exotic anymore. It is how a lot of homeowners are getting variable-speed comfort into their homes without paying full retail on the equipment. The process is straightforward, but there are a few things worth knowing before the crate shows up in your driveway.
The buy-direct path breaks into four clear phases: choose and order the correct unit for your home, line up a licensed installer for the labor, prepare for installation day, then handle startup, commissioning, and warranty registration. Each phase has a small number of decisions, and doing them in order avoids most of the friction homeowners run into.
Confirm sizing, efficiency tier, and refrigerant type, then order. Equipment ships to your home or job site.
Book a licensed HVAC contractor for labor, permits, and startup. Confirm they work with customer-supplied equipment.
Old unit removed, new unit set, lines and electrical connected, system pressure-tested and evacuated.
Installer commissions the system, walks you through operation, then you register the unit with the manufacturer.
Choosing the right inverter unit comes down to three inputs: correct size for your home's load, an efficiency tier that fits your climate and budget, and a refrigerant that meets current federal rules. Get those three right and the rest of the decision (brand, features, warranty depth) narrows quickly. Oversizing is the most common mistake, and it hurts an inverter unit more than a single-stage one.
An inverter unit is designed to modulate. Continuous frequency control lets modern inverter compressors run anywhere from roughly 10% up to 100% capacity in fine increments (Danfoss and Trane both document this). That modulation is where efficient dehumidification and steady room temperatures come from. If the unit is oversized, it never gets to run at those low, efficient speeds. If it is undersized, it runs flat-out on the hottest days. Our sizing walkthrough covers the numbers your installer will use.
The industry moved to SEER2, EER2, and HSPF2 ratings on January 1, 2023. The AHRI test protocol behind SEER2 uses 0.5 inches of external static pressure, roughly five times higher than the old SEER test. Same physical unit, more realistic conditions, slightly lower number on paper. Do not compare an old SEER label to a new SEER2 label directly. Minimum SEER2 for split units ranges from 13.4 in the Northern region to 13.8 to 14.3 in the Southeast and Southwest per the DOE.
Under the EPA AIM Act, new residential split units manufactured after January 1, 2025 must use refrigerants with a global warming potential under 700. In practice that means R-32 or R-454B (A2L refrigerants) instead of R-410A. R-454B has a GWP around 466 versus roughly 2,088 for R-410A. Existing R-410A inventory built before the deadline can still be installed until January 1, 2026. After that, expect A2L across the board.
Once you have sizing, tier, and refrigerant sorted, you can shop inverter AC units and pick a model that matches. Goodman and Daikin equipment ordered through AC Direct is also covered by the AC Direct Price Promise.
The installer handles the labor: removing the old unit, setting the new one, running or reusing line sets, wiring, evacuating the system, charging with refrigerant, and commissioning. The key question when you call around is whether they work with customer-supplied equipment. Many do, some do not, and the ones who do usually price the job as a labor-only quote plus any permits and materials.
- Are you licensed and insured in this state? (Not optional.)
- Do you install customer-supplied equipment? What is your labor-only rate structure?
- Are your technicians EPA Section 608 certified, and are they trained on A2L refrigerants?
- Do you pull the permit, or do I?
- What does your commissioning process include? (Charge verification, airflow, static pressure, controls setup.)
- Do you offer a labor warranty separate from the manufacturer parts warranty?
MRCOOL DIY units are the one exception to the licensed-installer rule. Their pre-charged Quick Connect line sets are designed so a mechanically capable homeowner can complete the install without handling refrigerant. For every other brand and every ducted central system, use a licensed pro. Our full guide, Finding a Licensed Installer for Your New Unit, covers vetting, quotes, and red flags in more depth.
The clean sequence is: get a firm install date on the calendar, then time your equipment delivery to arrive a few days before. That way you are not sitting on a crate for weeks, and the installer is not waiting on freight. If you order first, most installers can schedule around a known delivery date once the tracking info is in hand.
A standard central inverter changeout is typically a one-day job for a two-person crew, sometimes stretching to a day and a half if ductwork or electrical needs attention. The rough sequence is: recover refrigerant from the old unit, disconnect and remove it, set the new outdoor and indoor equipment, connect line sets and electrical, pressure test, evacuate to a deep vacuum, weigh in refrigerant, and start up. Mini split installs follow the same logic on a smaller scale.
| Phase | What Happens | Approx. Duration |
|---|---|---|
| Arrival and walkthrough | Crew confirms scope, protects floors, verifies model matches order | 30 to 45 min |
| Recovery and removal | Refrigerant recovered per EPA rules, old equipment removed | 1 to 2 hours |
| Set new equipment | Outdoor unit on pad or bracket, indoor unit or air handler set | 1 to 2 hours |
| Line set, electrical, condensate | Refrigerant lines connected or replaced, wiring, drain line | 2 to 3 hours |
| Pressure test and evacuation | Nitrogen pressure test, then vacuum to remove moisture and air | 1 to 2 hours |
| Charge, startup, commissioning | Refrigerant charged, controls configured, performance verified | 1 to 2 hours |
Most of the visible work is setting equipment, but the parts that actually determine how well your unit runs are the parts you cannot see: a proper nitrogen pressure test, a deep vacuum (typically to 500 microns or better), and an accurate refrigerant charge. Skipping or rushing those steps is the single biggest reason a new unit underperforms. A good licensed installer treats them as non-negotiable.
Commissioning is where an inverter unit either earns its rating or quietly falls short of it. Because the compressor modulates continuously, the system relies on the installer configuring the controls, verifying charge, and confirming airflow. A single-stage unit with a mediocre startup will still cool. An inverter unit with a mediocre startup will cool, but it will not deliver the efficiency or the dehumidification you paid for.
- Refrigerant charge verified by weight and subcooling/superheat, not by "beer can cold" line temperature.
- Airflow measured at the air handler, with static pressure checked against the manufacturer's spec sheet.
- Controls and thermostat configured for the specific model, including any dip switches, board settings, or app pairing for communicating units.
- Modulation confirmed, so the compressor is actually ramping and not defaulting to a fixed stage.
- Homeowner walkthrough, including thermostat operation, filter location and size, breaker locations, and what the outdoor unit should sound like in normal operation.
Inverter units behave differently from what most homeowners are used to. They run longer at lower speeds instead of blasting on and off. On mild days the outdoor unit may sound like it is barely working, because it is barely working. That is the correct behavior and it is where the efficiency comes from. Fan speeds ramp up and down. Indoor temperature stays within a fraction of a degree of setpoint. Humidity drops and stays down.
Every major manufacturer requires online registration to activate full parts warranty coverage. The window is typically 60 days from installation, though terms vary by brand and model. Register on time and you keep the full published parts warranty. Miss the window and you generally drop to a shorter base warranty. Buying direct does not affect your eligibility, but you do need to complete the registration yourself with the correct install date and installer info.
- Model number and serial number from both the outdoor unit and indoor unit or air handler.
- Installation date.
- Installer name, business name, and license number.
- Your name and property address (must match where the unit is installed).
Register at the manufacturer's site directly (Goodman, Daikin, or MRCOOL) and save the confirmation email. Warranty terms change over time, so always confirm current coverage on the manufacturer's website before you assume a specific term. Our step-by-step guide, Registering Your New Unit Warranty: Step by Step, walks through the process for each brand.
Wholesale pricing on Goodman, Daikin, and MRCOOL inverter equipment, shipped to your home or job site. Confirm sizing, pick your efficiency tier, and get your install date on the calendar.
No. Manufacturer parts warranties for Goodman, Daikin, and MRCOOL are tied to the equipment and the installation being done correctly, not to where the equipment was purchased. You do need to register the unit within the manufacturer's window (typically 60 days) with the installer's license info. Always confirm current warranty terms on the manufacturer's website.
A typical central inverter changeout is a one-day job for a two-person crew, roughly 6 to 10 hours from arrival to startup. If ductwork, electrical, or refrigerant line sets need to be replaced, it can stretch to a day and a half. Ductless mini split installs are usually shorter, often half a day per zone depending on the run.
Many will, some will not. It varies by market and by contractor. When you call, ask directly if they install customer-supplied equipment and how they structure a labor-only quote. Confirm they are licensed, insured, EPA Section 608 certified, and trained on A2L refrigerants. Our guide to finding a licensed installer covers vetting questions in more detail.
Both are A2L refrigerants that meet the EPA AIM Act requirement of a global warming potential under 700 for equipment manufactured after January 1, 2025. R-32 is a single-component refrigerant with a GWP around 675. R-454B is a blend with a GWP around 466. Performance is similar; the choice depends on the manufacturer and specific model.
That is normal, and it is where the efficiency comes from. Inverter compressors modulate output to match demand instead of cycling fully on and off. Long, low-speed runtimes maintain steadier temperatures, remove more humidity, and use less energy per hour than short, full-power cycles. If setpoint is being held within a degree, the unit is working correctly.


