


The Best DIY Inverter Mini Splits You Can Install Yourself
-
 By
Michael Haines
By
Michael Haines
- Jul 7, 2026
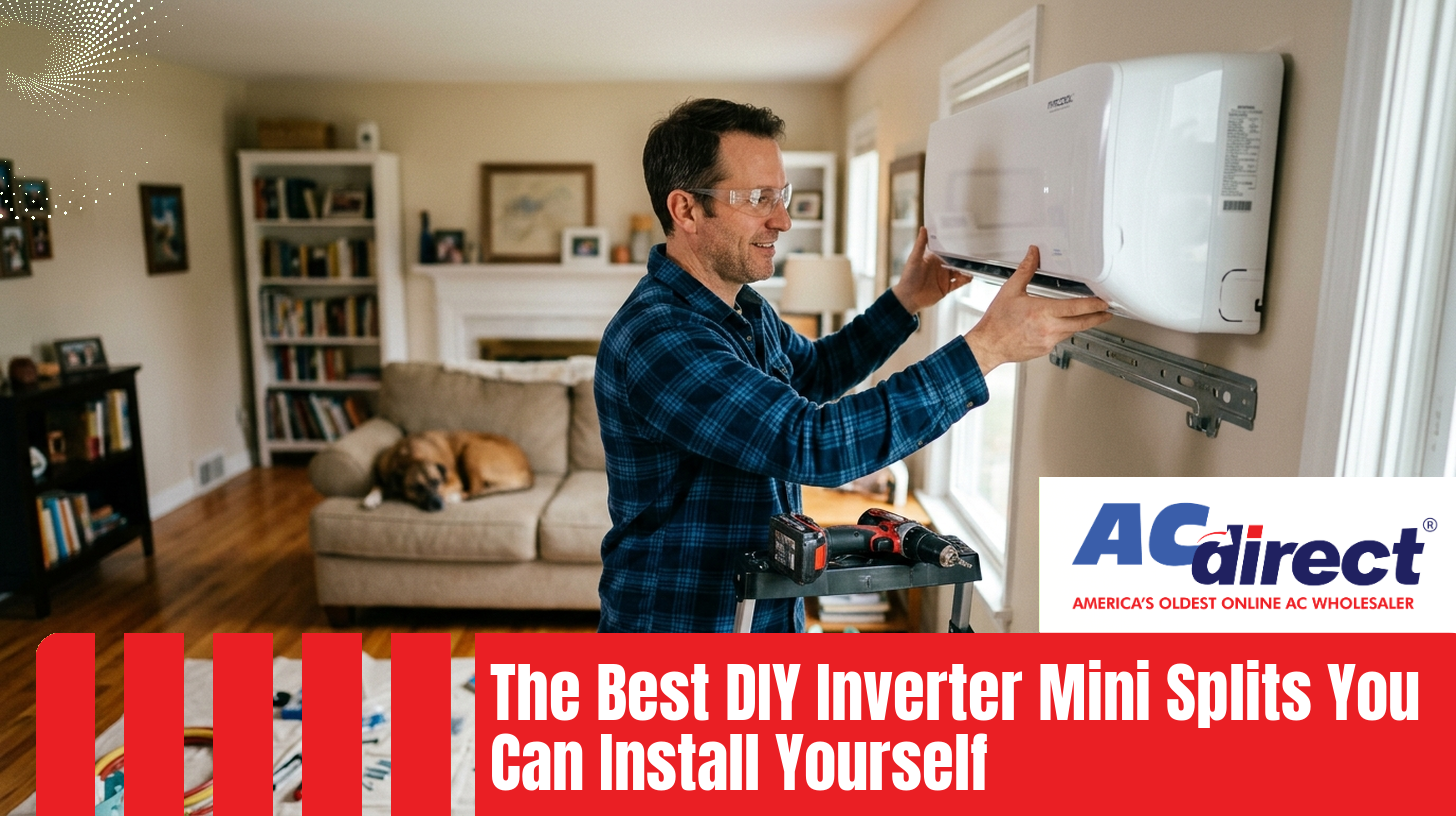
Honest picks, real installation expectations, and when a handy homeowner should still call in a pro.
For most handy homeowners, the best DIY inverter mini split is the MRCOOL DIY 5th Generation. It uses pre-charged QuickConnect line sets, includes a simplified DIYPRO control cable, and does not require a vacuum pump, refrigerant handling, or EPA certification. It is the only major line built end-to-end around homeowner installation, and it works well when the job fits your skill set.
- MRCOOL is the only mainstream brand engineered for genuine homeowner installation, thanks to pre-charged QuickConnect line sets.
- Single-zone DIY units are the easiest starting point. Multi-zone jobs are still doable but add real complexity.
- Efficiency is strong. Some MRCOOL DIY 5th Gen units hit above 20 SEER2 while running as quiet as roughly 25 dB indoors.
- The EPA HFC phasedown pushed the industry to A2L refrigerants like R-454B and R-32, with much lower global warming potential than R-410A.
- Electrical work, drilling exterior walls, and any brazed refrigerant work should still be hired out if you are not comfortable.
- For the deeper background on how inverter technology works, read our inverter air conditioner guide.
A truly DIY mini split lets a handy homeowner install the unit without opening the refrigerant circuit, without a vacuum pump, and without EPA Section 608 certification. In practice that means pre-charged line sets with quick-connect fittings, a simplified control cable, and clear step-by-step instructions from the manufacturer. Most "easy install" mini splits on the market do not meet that bar.
MRCOOL pioneered pre-charged residential mini splits with QuickConnect line sets in 2016. The line set arrives sealed and loaded with refrigerant. You route it, tighten the fittings by hand and with a torque wrench, and open the valves. There is no evacuation, no gauges, and no charging step. That single design choice is what separates a DIY-friendly mini split from a professional-only one.
Because the refrigerant loop stays sealed during installation, MRCOOL DIY units do not require the installer to hold EPA Section 608 certification. Any repair that opens the refrigerant circuit later, however, does require a certified technician. That is worth planning for before you buy.
MRCOOL's DIYPRO cable consolidates the control wiring between indoor and outdoor units into a single plug-style connection. Line-voltage power still needs to be brought to the disconnect at the outdoor unit, which is where a lot of DIY jobs still call for a licensed electrician. Startup on MRCOOL DIY equipment does not require a certified HVAC technician, per the manufacturer.
Single-zone units are the easiest place to start. One indoor head, one outdoor condenser, one line set. If this is your first mini split job, pick a single-zone system for a garage, sunroom, primary bedroom, or bonus room and use the project to build confidence before tackling a whole-home layout.
This is the workhorse of the DIY category. The 5th Generation refined earlier designs, moved to R-454B refrigerant to meet the current EPA A2L transition, and pushed efficiency higher. The 12,000 BTU version delivers strong SEER2 performance, indoor sound levels near 25 dB, and the same QuickConnect install that made MRCOOL DIY famous. Owner feedback on the 5th Gen has been notably better than earlier generations.
The prior generation is still floating around distribution channels. It uses R-410A, which is no longer manufactured for new residential split units as of January 1, 2025. If you already have one or find a valid deal on remaining stock, it still installs the same way. For a new project, the 5th Gen is the better long-term choice because of refrigerant availability for future service.
A single-zone MRCOOL DIY unit is one of the most common ways homeowners condition a detached or attached garage without extending ductwork from the main system. The soft-start inverter compressor also plays well with garages on modest electrical service. For a broader look at the DIY line, see our full MRCOOL DIY Inverter Mini Splits: Everything Before You Buy guide.
Ready to compare current single-zone models? Browse the full lineup of MRCOOL DIY mini splits to see live specs and availability.
Multi-zone DIY installs use one outdoor condenser feeding two, three, four, or five indoor heads. The refrigerant side is still QuickConnect, but you are managing multiple line sets, multiple condensate drains, multiple wall penetrations, and a more demanding electrical load. Doable, but plan carefully. Our sibling piece on single zone vs multi zone mini splits walks through when multi-zone actually makes sense.
The multi-zone 5th Gen keeps the QuickConnect approach across all indoor heads. It supports mixed indoor unit types (wall-mount, ceiling cassette, or air handler in some configurations), which lets you tailor each room. Because the outdoor unit is larger, most installs require a dedicated 240V circuit sized to the specific model. Confirm the required breaker and wire gauge in the manual before pulling wire.
A two-zone MRCOOL DIY setup is the sweet spot for many small ranches, cabins, ADUs, and finished attics. You get room-by-room control, a single outdoor unit to hide, and an installation weekend that is achievable for one homeowner with a helper. Sizing each head to the room, not just to the home's square footage, matters more with multi-zone than it does with a central system.
Four and five-zone DIY units can absolutely work, but the failure modes compound. A single mistake on one line set can affect the whole system, and troubleshooting is harder with more heads on one condenser. If you are new to mini split work, consider staging the project or having a pro pressure-test and commission the finished multi-zone install even if you did the physical labor yourself.
The refrigerant side is the easy part on a DIY mini split. The physical install is where most of the hours go, and where mistakes happen. Here is what a realistic single-zone MRCOOL DIY install looks like, start to finish.
Match BTU capacity to the room, not just square footage. Verify you have a suitable 240V circuit (or can add one), the correct breaker size, and a service disconnect location that meets local code.
Level the mounting bracket, secure it into studs or block, and set the outdoor unit on a pad or wall bracket with clearance for airflow. Plan for condensate drainage away from the foundation.
A three-inch hole through an exterior wall is the point of no return. Locate studs, avoid wiring and plumbing, slope slightly outward for condensate, and seal properly on both sides.
Avoid sharp bends and kinks. Connect the fittings finger-tight first, then torque to spec. This step replaces the vacuum-and-charge process on a traditional install.
Connect the DIYPRO control cable between indoor and outdoor units. Bring line-voltage power to the disconnect. Anything you are not comfortable with here is a good place to bring in a licensed electrician.
Open the service valves in the order the manual specifies, restore power, and run the startup routine. MRCOOL does not require a certified technician for startup on DIY units.
DIY does not mean everything must be DIY. Some situations warrant a professional even for a MRCOOL system. Getting this call right protects your home, your warranty, and your safety.
If your electrical panel is full, undersized, or older than you can date, hire a licensed electrician for the disconnect and dedicated circuit. Mini splits pull real amperage during startup even with soft-start inverters, and the electrical side is not where you want to improvise.
QuickConnect line sets come in specific lengths. Very long runs, multiple ceiling penetrations, or routes that pass through finished spaces are best handled by an installer with the right tools to hide and support the line set cleanly.
If a mini split system is the primary heating and cooling for your entire home, the stakes go up. A pro can perform a proper load calculation for each zone, size heads accurately, and pressure-test the completed system for peace of mind.
Once the sealed refrigerant circuit is opened for service, EPA Section 608 certification is required. That means any leak repair, compressor replacement, or component change on the refrigerant side is a licensed technician's job, even on a DIY unit.
Use this to match your situation to the right approach. This is not a brand-versus-brand table. It is a situation-versus-approach table, because that is what actually decides whether a DIY project succeeds.
| Your Situation | Best Approach | Why |
|---|---|---|
| Cooling a garage or single room | Single-zone MRCOOL DIY 5th Gen | Simplest install, one line set, quick payoff |
| Adding comfort to two rooms | Two-zone MRCOOL DIY 5th Gen | One outdoor unit, room-by-room control |
| Whole-home replacement, 3+ zones | MRCOOL DIY with pro commissioning, or full pro install | Load calc and pressure test protect the investment |
| No spare circuit in the panel | Licensed electrician + DIY install | Electrical work is where DIY risk is highest |
| Cold climate primary heat | Cold-climate rated unit, professional sizing | Heating load drives sizing, not cooling |
| Rental property or resale prep | Consider professional install | Documented install is easier for insurance and buyers |
For homeowners whose situation lines up with the top rows of that table, browse the full catalog of inverter AC units to compare current DIY options side by side.
DIY does not mean cheap technology. The MRCOOL DIY 5th Gen uses the same core inverter approach as premium professional units: variable-speed compressor, soft-start operation, and A2L refrigerant. The result is quiet operation, tight temperature control, and strong part-load efficiency.
SEER2 and HSPF2 are the current federal efficiency metrics, effective since January 1, 2023, per the U.S. Department of Energy. Higher numbers mean less electricity for the same comfort. Certified performance ratings for specific matched units can be verified through the AHRI Directory. Modern DIY inverter units routinely land well above the federal minimum, which is why energy bills often drop noticeably after replacing an old fixed-speed system.
Manufacturing of new residential split units using R-410A ended January 1, 2025, as part of the EPA HFC phasedown. New MRCOOL DIY 5th Gen units use R-454B, an A2L refrigerant with a much lower global warming potential. From an installer standpoint, R-454B behaves similarly enough that the QuickConnect approach still works cleanly.
The reason inverter units feel different from an old window shaker or fixed-speed central system is modulation. Instead of blasting on and shutting off, the compressor ramps up and down to hold a steady temperature. That is what produces the near-silent operation, the stable room temperature, and the reduced starting current that lets these units live on modest electrical service.
MRCOOL supports DIY installation on their DIY line. That said, register your unit promptly and keep proof of purchase. If a warranty claim ever comes up, the paper trail matters more than the wrench work. If you want to compare warranty structures across the broader inverter category, browse current inverter heat pumps to see what each manufacturer offers.
Do I need EPA certification to install a MRCOOL DIY mini split?
No. Because MRCOOL DIY units use pre-charged QuickConnect line sets, the refrigerant circuit stays sealed during a normal install. EPA Section 608 certification is required for any work that opens the refrigerant loop later, such as leak repair or component replacement, so plan to use a licensed technician for future refrigerant service.
What is the easiest mini split to install yourself?
A single-zone MRCOOL DIY 5th Generation is the easiest. One outdoor unit, one indoor head, one pre-charged line set, and a simplified DIYPRO control cable. Multi-zone versions use the same install approach but add more line sets, more wall penetrations, and higher electrical demand, which increases complexity and total install time meaningfully.
How long does a DIY mini split install actually take?
Plan on a full weekend for a first-time single-zone install if you are handy but new to mini splits. Experienced DIY installers often finish in a long day. Multi-zone projects typically span two to three days, especially when you are routing multiple line sets, drilling several wall penetrations, and running condensate lines cleanly.
Is a DIY mini split as reliable as a professionally installed one?
Modern MRCOOL DIY 5th Generation units are meaningfully more reliable than earlier generations, and owner satisfaction has improved considerably. Quick-connect fittings do introduce more potential leak points than brazed connections used in professional installs, so torque to spec, protect fittings from strain, and inspect them if performance drops later.
Can I run a DIY mini split as my primary heat in a cold climate?
You can, but sizing has to be driven by heating load, not cooling load, and you need a unit rated for low ambient temperatures. In cold climates, a load calculation and professional commissioning are worth the money even on a DIY unit. Consider a cold-climate rated model and a proper backup heat strategy for extreme cold snaps.


